Git Repository
Start using Github to manage course materials
Reading
Tasks
- Watch the Git GUI
- Install git on your computer
- Configure Git
- Make sure git works in R-Studio (do you see the Git tab in the upper right?)
- Optionally sign up for the GitHub Education pack
- Click on this link to create a repository for your case studies
- Set up it credentials following this
- Create a new project in Rstudio and connect it to the new repository in GitHub. Helpful instructions are here
- Make some change. For example, you could edit the README.md file in your repository to include a brief description of the repository (e.g. “Coursework for Spatial Data Science”).
- Stage and Commit your changes to Git (using the git tab in the upper right of RStudio)
- Push the repository up to GitHub
- Confirm that the changes are visible on your github webpage
- Copy the contents of your scripts from previous weeks into the appropriate files (but don’t edit the file names!)
Background
Version control systems (VCS) allow developers to maintain a record of how their code has changed over time. When used properly, a VCS can help a developer track down the exact point in time when a bug was introduced or fixed, easily undo changes, and collaborate with other developers.
There are many types of version control systems. Some of the more popular ones include CVS, subversion, mercurial, and git. In recent years, git has quickly become the most popular of the group.
Git
Git stores files in a type of database called a
repository or repo. Most data science teams
that work with git keep a central repository on a server somewhere that
everyone on the team can access. This repository stores the files and
the history of every change made to each file, including who made the
changes and when those changes were made.
Git works with groups of changes called commits. A
single commit might have many changes associated with it. Those changes
might include updates to, existing files, the addition of new files, or
the removal of files.
Example
Imagine a developer named Sally who has started a new job for US Robotics. She’s told that her first assignment is to fix a bug in the positronic brain code that is causing all of the robots to walk around in circles. She takes the following steps:
- First, Sally will clone the central repository which creates a copy of the repository on her computer.
git clone https://github.com/us-robotics/brain.gitNext, Sally finds the bug in the PositronicBrain.R file that is causing the odd behavior. She quickly fixes the bug and saves her changes.
Sally’s next step is to add the PositronicBrain.R file to the list of changed files to commit.
git add PositronicBrain.R- When Sally is done adding files, she will commit those changes, adding a brief message to describe her changes.
git commit -m "Fixed the bug that made robots attack ice cream shops."- Now that her changes are finished before she can share them, she must pull any changes her teammates have made from the central repository into her local copy.
git pull- After making sure that there isn’t a conflict between her teammates’ changes and her own, she is ready to push her changes up to the central repository.
git pushMost of your interactions with a git repository will follow the same six steps that Sally followed. Note the sequence of the pull and push commands.
This is critical when working with git: Always pull before you push.
As we are getting introduced to git and GitHub, you will be the only
one that is working with your repository. This will make the
git pull less used in our day-to-day workflow. We will only
need to get the workflow for adding files from our local repository to
the GitHub central repository.
Course Folder Structure
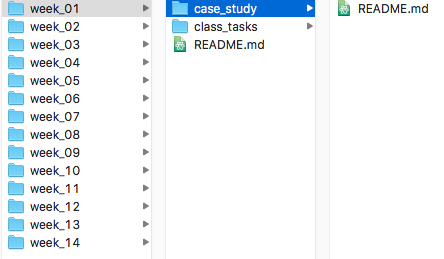
For the rest of the course, you should keep your files organzed in a git-managed repository. After syncing your local computer with your class repository, you will have a folder structure similar to the image below.